After one of my samples was shown on Barbara Gray's TV show on Create & Craft the other week, I have had some requests on how I made it, so I thought I would do a step-by-step and the thinking behind my crafty madness!
So, go grab a coffee, tea, glass of wine, get comfortable and I shall begin!
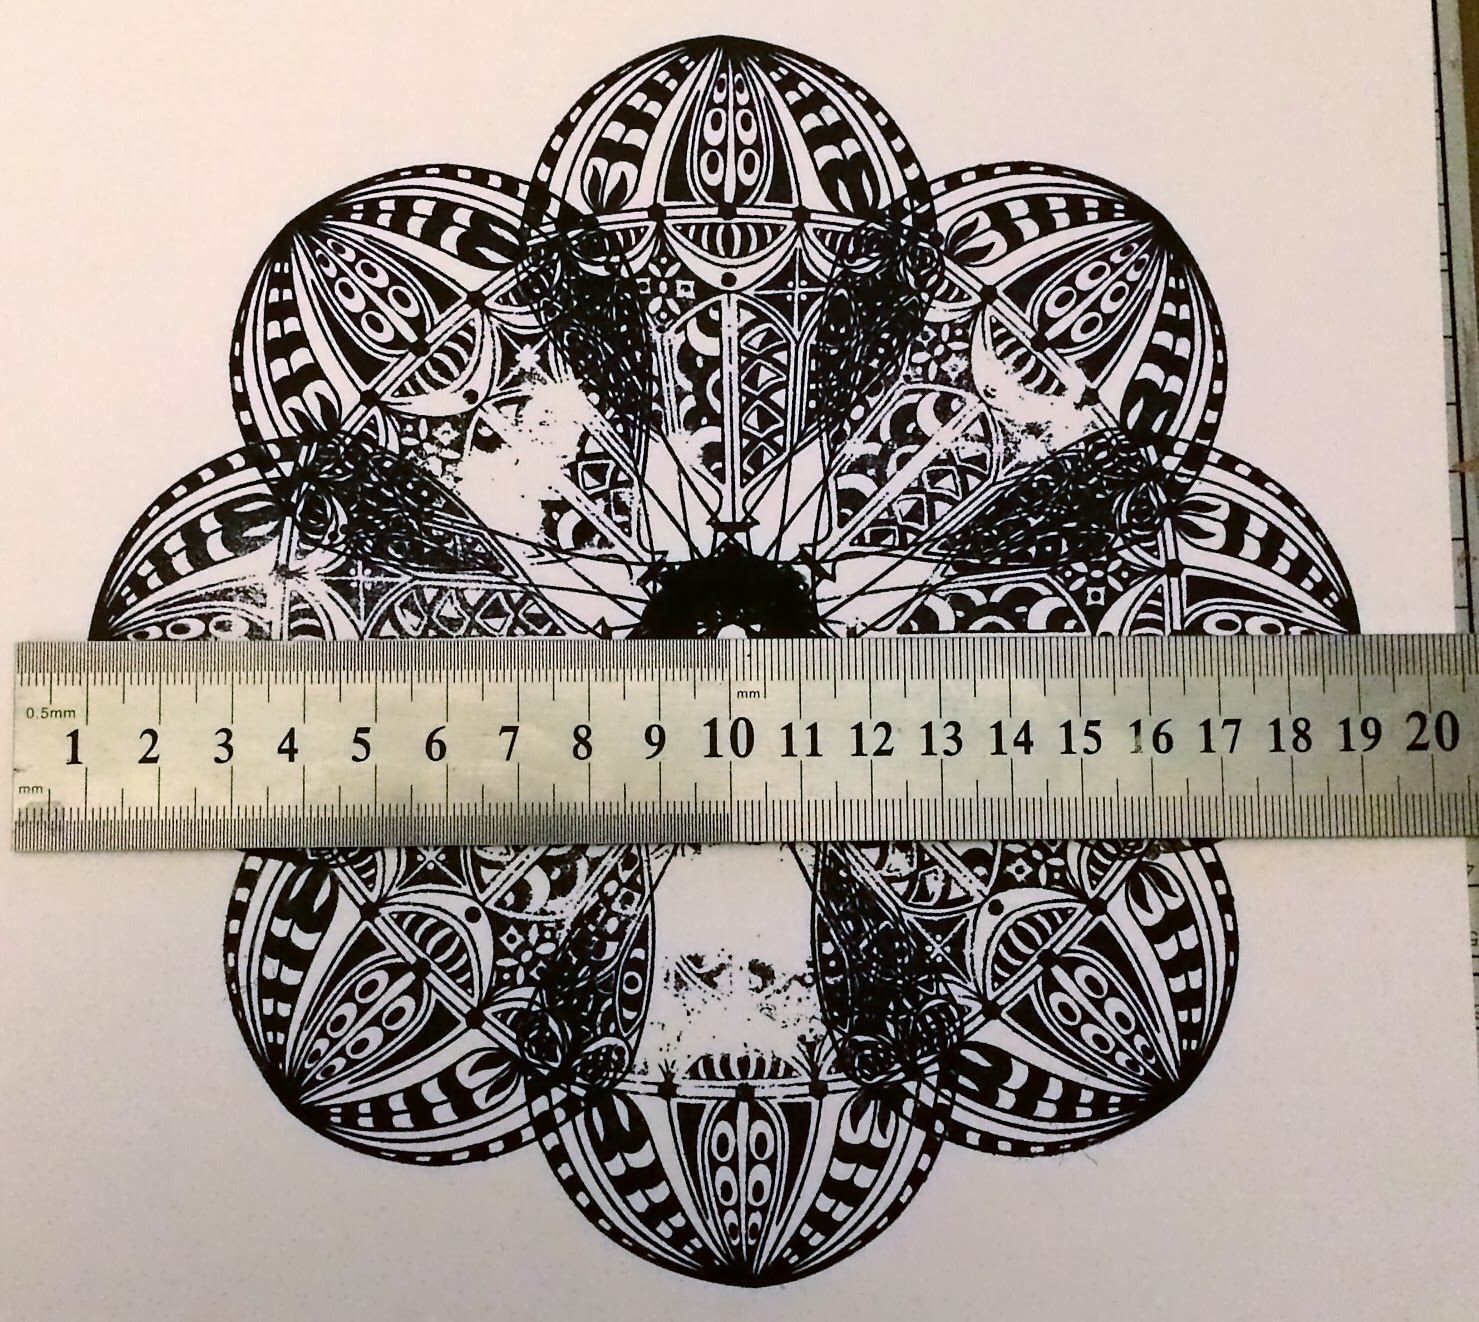
This is the finished card

Ingredients:
Post It Notes
Selection of Graph 'It Pens, Promarkers or pens/pencil of your choice
Pencil
Ruler
Rubber
Scissors
Firstly, let me explain the method behind the madness! Whenever I get a new stamp, I take a pile of A4 copy paper and a black inkpad and I just stamp it out and then turn the paper and see how it looks from different directions. So once I have done this, I always start off by making a cross shape - now I am not worried about getting a perfect impression, as I am just "playing" (that's my excuse for the poor stamping below!!!)

Then I start to overlay the stamp in the empty spaces

Until I have completed the full pattern - depending on the design, you can see other patterns forming - can you see the star around the black blob?

So once I am happy with the layout, I start to get technical! Take a ruler and measure across the design allowing for a border each side
Next take some Post-it notes (2 or 3 stuck together) stamp out the balloon and cut out to create your masks

I only needed 2 for this card but ended up with 3 (a back up just in case!)

Next take a piece of the A4 Theuva Card and cut down to a 20cm square as per the pic with the ruler in. Then take a ruler and pencil and draw lines as indicated below (I have used a black pen as it is easier for you to see)

Then ink up your stamp and stamp it as below - you can see that the lines help me position the stamp and allows me to repeat the line up more easily

You can see from the first stamped impression that the centre of the balloon is lined up perfectly with the vertical line and the top of the basket is lined up with the horizontal line

I find that it is easier, to turn your artwork rather than your stamp, repeat and create the cross like you did when you was "playing"

Next, take 2 of your masks and position on 2 of the stamped images as indicated below

Like before, line your stamp up with the vertical line and horizontal lines. Repeat until you have created your pattern as below

Let the artwork stand few a few minutes to ensure that it is completly dry and then rub out the pencil marks
Next we are going to create the middle part. Stamp out the top part of the balloon 4 times and cut off the top as indicated below on all 4

Take 2 of them and stick them together as indicated below - take a step back and look at the image below - can you see that it would make a fabulous butterfly!

Repeat with the other 2 and they lay them on top of one another as below

Now you can take your time and add some colour - I would suggest stamping the balloon out a couple of times so that you can test your colours before starting on your finished design!
I hope that the above makes sense and has been of use - if you have any questions, then give me a shout!
Happy crafting :-)
Happy crafting :-)
Paul
Paul this is lovely and thanks for sharing how you did it.
ReplyDeleteVery clever Paul and I love the butterfly look, would you mind if I used it ??
ReplyDeletePaul, just stumbled across your fabulous blog, and so very much enjoyed reading the tutorial on 'your madness'. This was so inspiring as well as enlightening, and I was fascinated to read how you approached this process. I looked around to find a follower's join list, but not seeing one. Thanks for taking time to explain and take the step-by-step pictures to show your written explanation. So helpful to a visual learner such as myself. TFS
ReplyDeleteHi Mary
DeleteThanks for your kind comments - I think I have added a follow option to the blog - can you give it a go and see what happens - thanks x
Thanks for the demo. It reminds me of being a little girl and a very complicated spirograph - who'd had thought we would still be thinking/doing similar things years on?!
ReplyDelete